
Materials List
Wooden Frame/Board: 3 and 1/2" by 48" board of poplar from Lowe's for about $4.50
Craft Foam: I had some scraps laying around but you can find the best foam at Michael's and Hobby Lobby. It usually runs $1-3 per sheet and there is a wide range of thicknesses to choose from.
Adhesives: I opted for strong, outdoor, waterproof adhesives in order to stand up to mother nature.
Steps
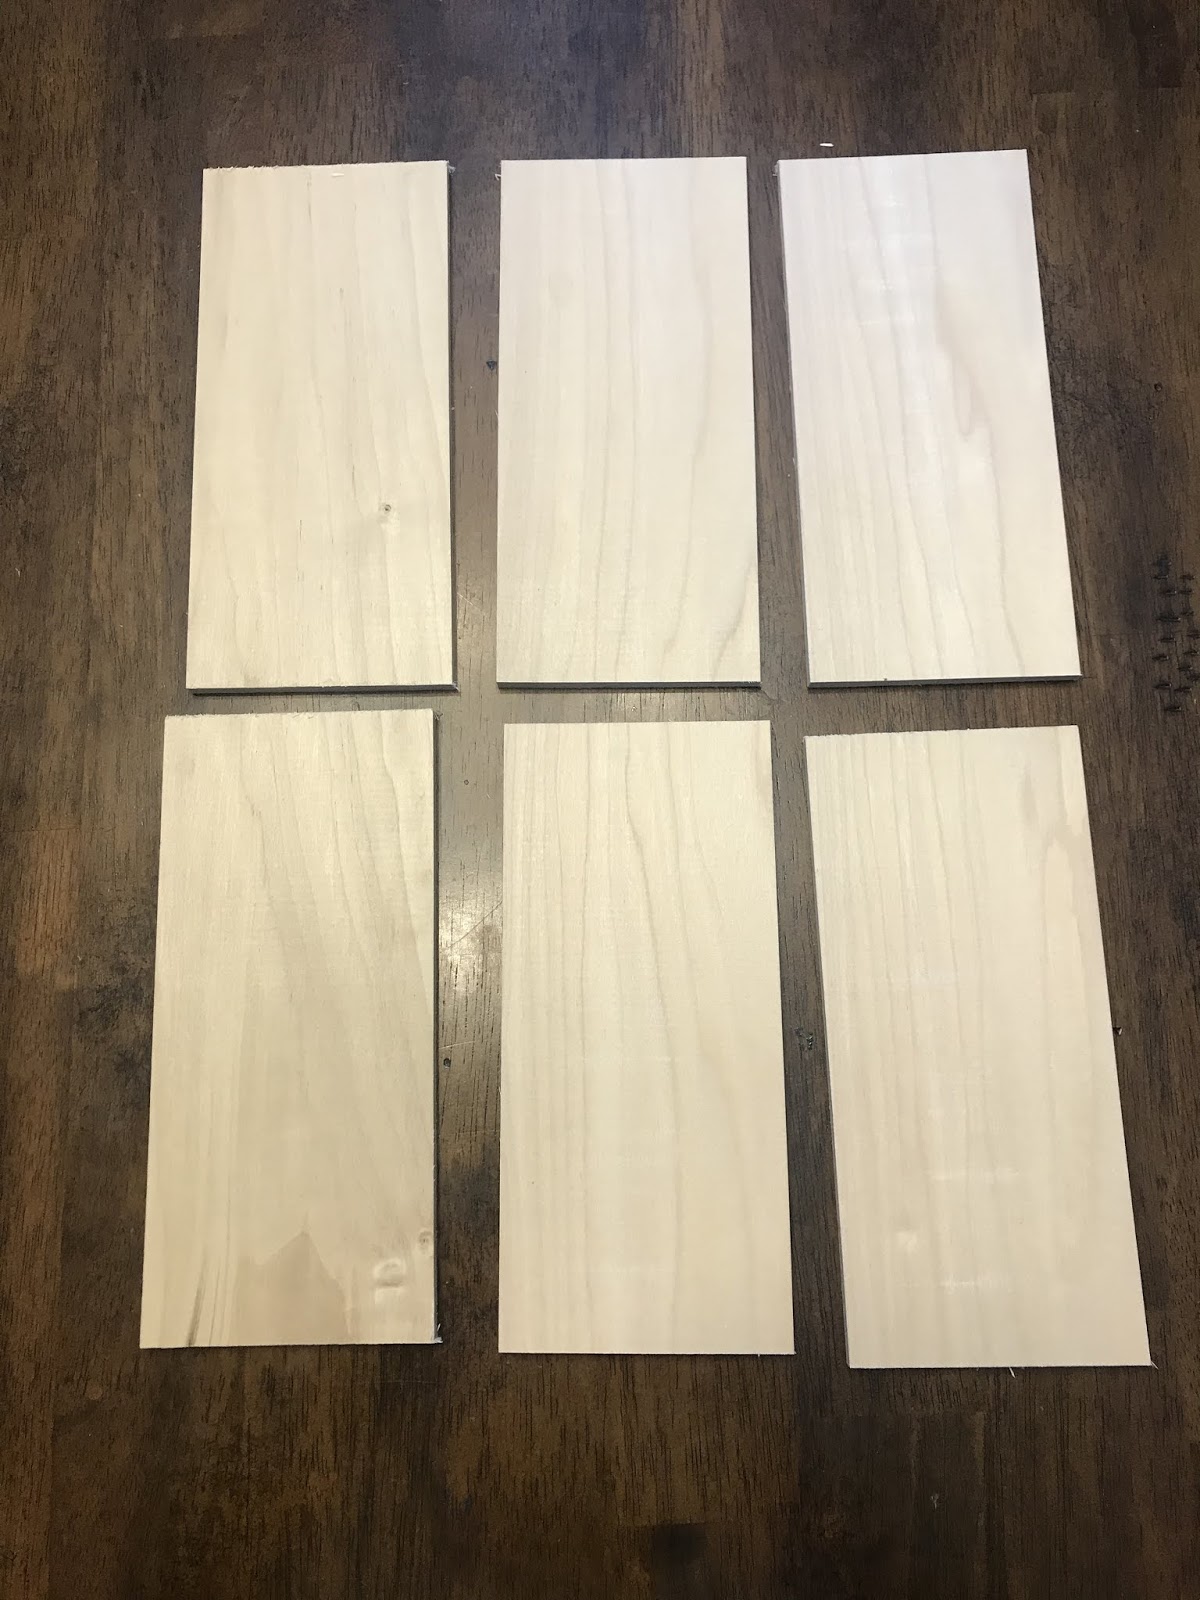
1. I cut the boards into approximately 8" long sections.
2. I then decided to promote this website along with swapping flies. I cut some stickers to fit the boards.
3. Cut the foam to the determined size of your board. I prefer to use a razor and a straight edge as opposed to scissors for this.
4. Glue it all up!
5. At this point you will want to decide how you are going to attach it to locations. I drilled a couple of holes in the upper corners because I plan on using wire to attach the boards to posts and by hanging them on a single nail.
6. I also included a little info so people new exactly what they were looking at and to send them to the flybrary project on Instagram. You can find the account at @flybraryproject and using the hashtag #flybraryproject.


No comments:
Post a Comment