Let me start off with the fact that I am NOT an artist. I have always wanted the ability to draw incredible pictures with accuracy and detail but that is simply not a gift that the good lord blessed me with. However, I do have a knack at being resourceful and the ability to work around my artistic shortcomings. With that in mind, I had an idea when I ran across some adult coloring pages on The Fiberglass Manifesto (click here to see what I am referring to), and specifically at Rep Your Water (again, click here for more detail). I decided that I wanted to use one of the images that I saw to transfer onto a fly box. Here's the step-by-step process that we used to transfer the image.
1. Find a fly box that you want to transfer the image to.

2. Clean the surface. I used nail polish remover because I had written on the box with permanent marker years ago.
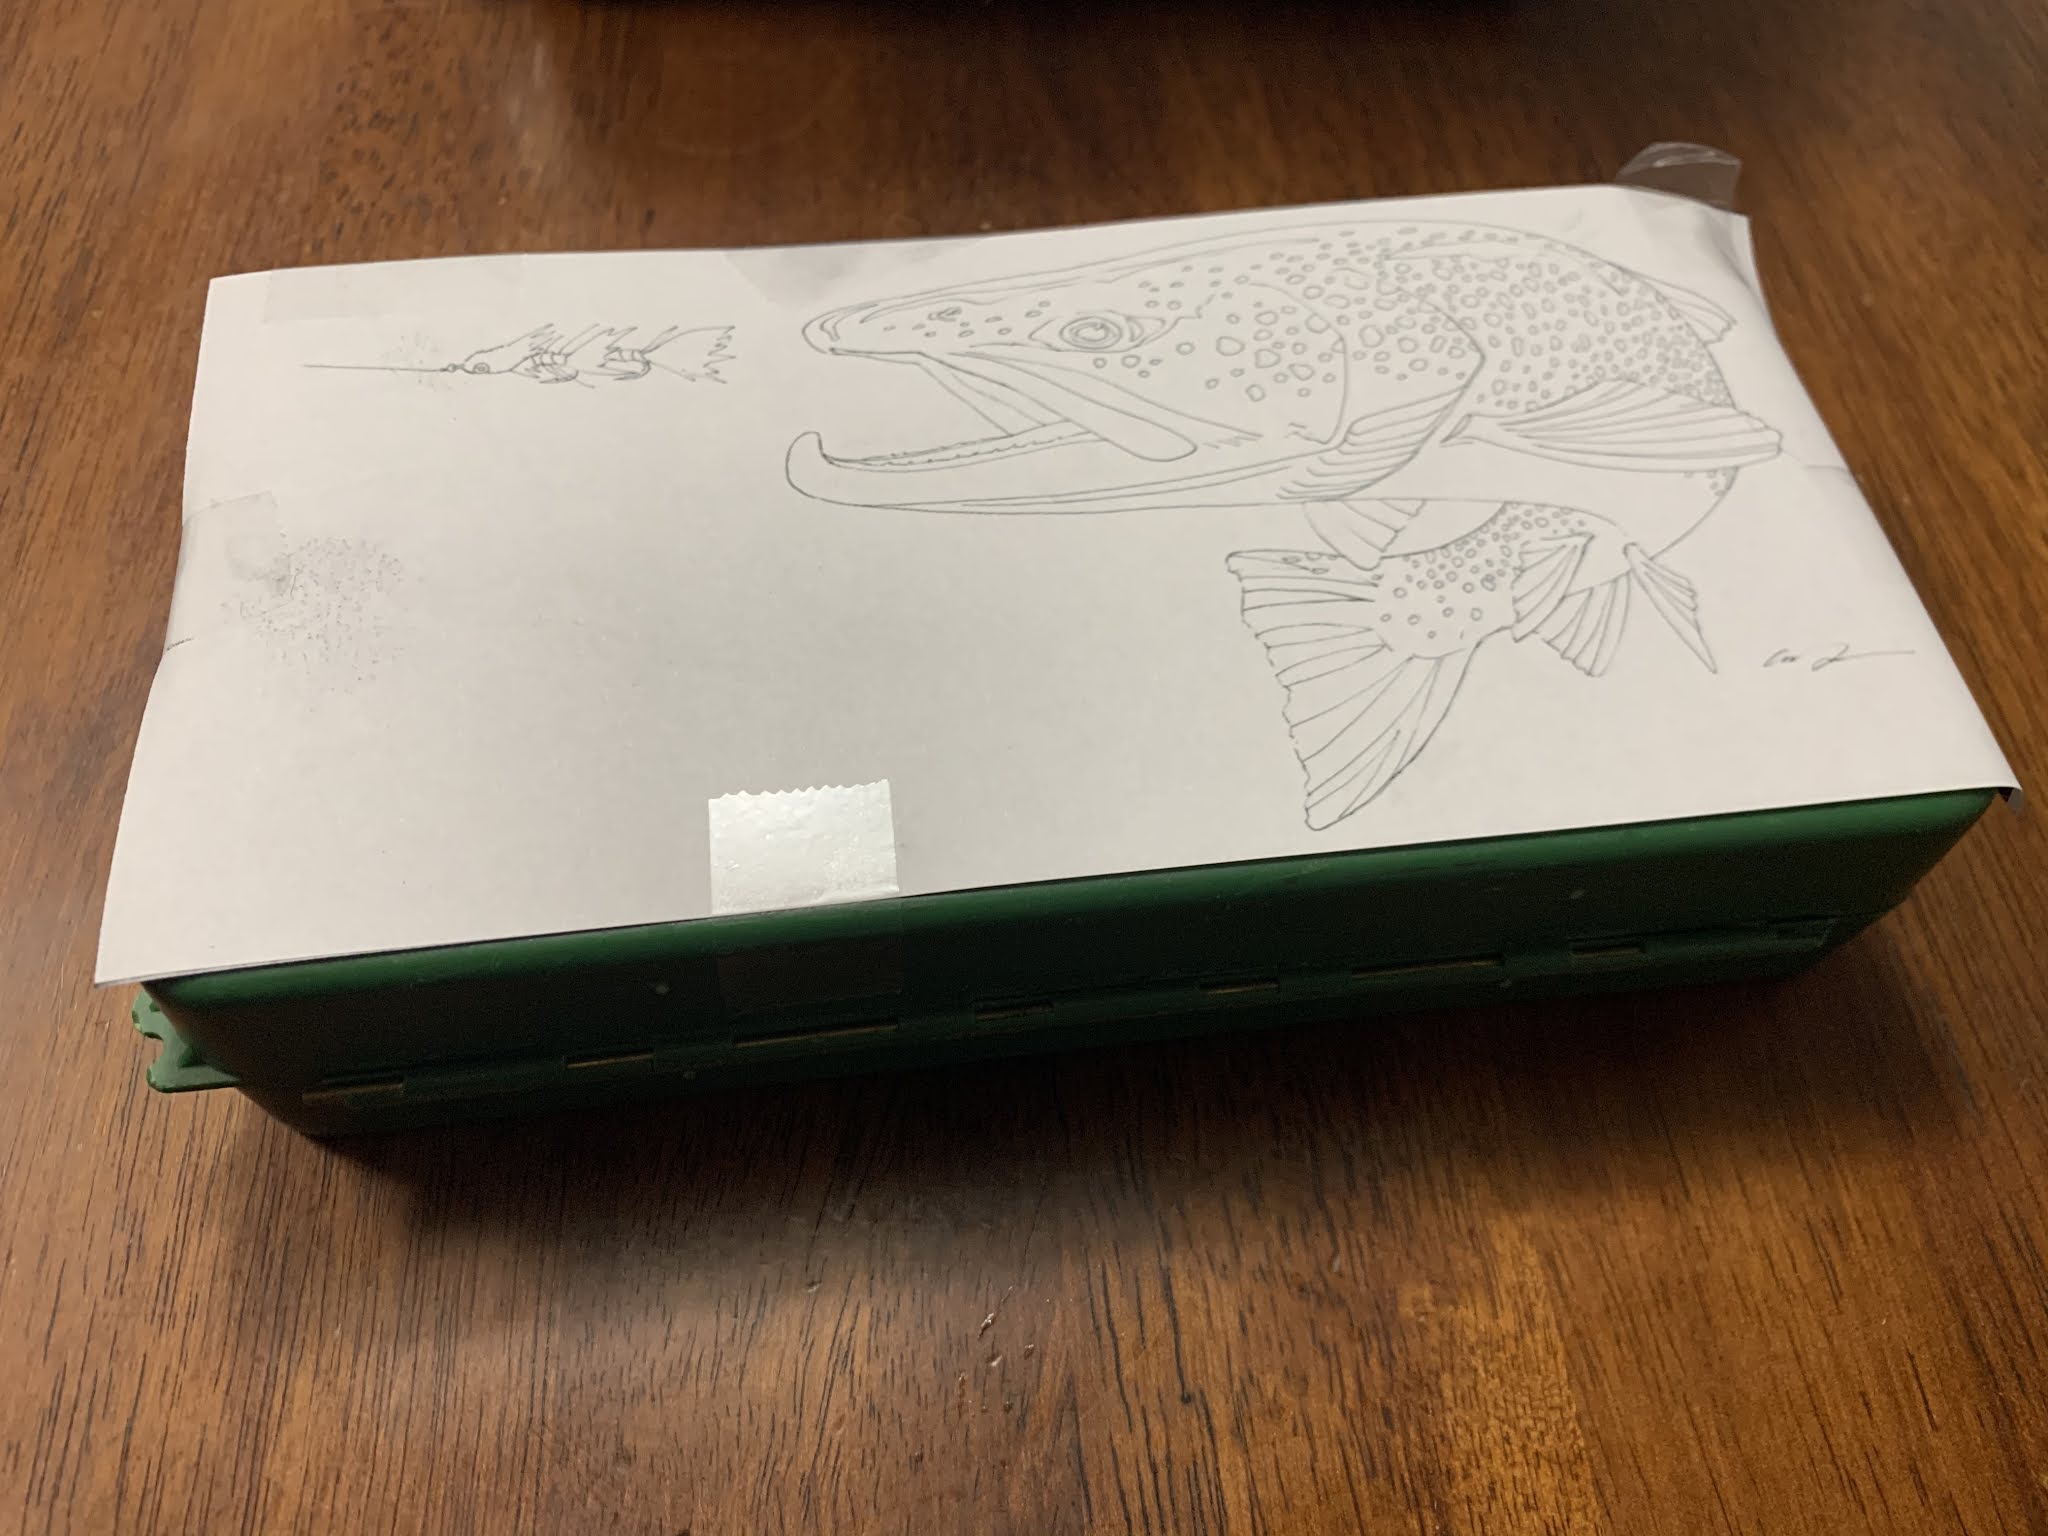
3. Find your image and print it on paper. Make sure you get the size right.
4. You're going to need some carbon paper at this point. Surprisingly, you can still find this stuff at office supply stores.
5, Cut the carbon paper to be the same size as the paper with the image.
6. Tape the two pieces of paper together. Make sure the side with the carbon is facing toward the box or it will not transfer.
7. Trace the image with a pencil. The harder you press, the better the image will transfer.
8. Yes, this is a little painstaking (literally, your hand might actually cramp), but wait until you see the end result. It will make it all worth it.
9. Carefully remove your image and insure that the image has transferred and that you didn't miss any details.
10. Trace over your pencil marks with a permanent marker. I used a fine point sharpie for this step and I am thrilled with how it turned out!


No comments:
Post a Comment